1)
Install OpenvSwitch, Create an OpenvSwitch Bridge and attach eth0/wlan0
http://fosshelp.blogspot.com/2014/10/add-eth0-wlan0-openvswitch-bridge.html


2)
Script for create the interface "tap0" and attach it to OpenvSwitch Bridge "br-int"
#sudo vim /etc/ovs-ifup
#!/bin/sh
switch='br-int'
/sbin/ifconfig $1 0.0.0.0 up
ovs-vsctl add-port ${switch} $1
3)
Script for delete the interface "tap0" and detach it from OpenvSwitch Bridge "br-int"
#vim /etc/ovs-ifdown
#!/bin/sh
switch='br-int'
/sbin/ifconfig $1 0.0.0.0 down
ovs-vsctl del-port ${switch} $1
4)
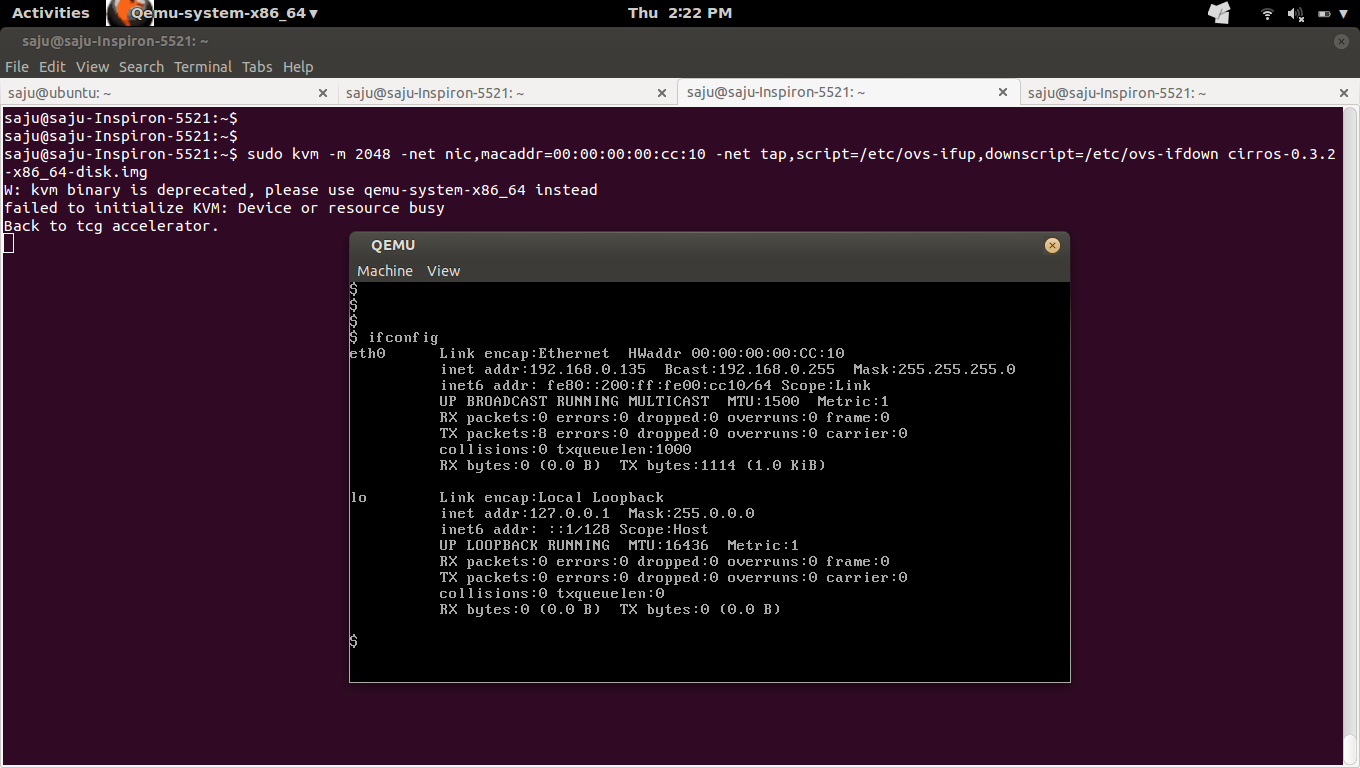
Create a KVM VM with cirros image and attach to OpenvSwitch Bridge "br-int"
#sudo kvm -m 2048 -net nic,macaddr=00:00:00:00:cc:10 -net tap,script=/etc/ovs-ifup,downscript=/etc/ovs-ifdown cirros-0.3.2-x86_64-disk.img


5)
Login to the cirros VM and set the IP. (Ip of the VM should be in the network of "br-int")
#sudo ifconfig eth0 192.168.0.135 netmask 255.255.255.0


6)
From cirros VM : Check routing table
#route -n
7)
From cirros VM : Ping to "br-int", Should work
#ping 192.168.0.131
8)
From cirros VM : Ping to google, Should not work
#ping ip-of-google
9)
List all POSTROUTING iptables rule
#sudo iptables -t nat -L POSTROUTING -nv
10)
Add MASQUERADE target rule for OpenvSwitch Bridge "br-int" to make ping to IP of google working
#sudo iptables -t nat -A POSTROUTING -o br-int -j MASQUERADE


10)
Ping to IP of Google


11)
Ping to www.google.com
Login to cirros VM and open /etc/resolve.conf and add
nameserver 8.8.8.8


12)
From Host System : SSH to cirros VM, Should work
#ssh cirros@192.168.0.135


13)
Ref
http://networkstatic.net/openflow-openvswitch-lab/
Install OpenvSwitch, Create an OpenvSwitch Bridge and attach eth0/wlan0
http://fosshelp.blogspot.com/2014/10/add-eth0-wlan0-openvswitch-bridge.html
2)
Script for create the interface "tap0" and attach it to OpenvSwitch Bridge "br-int"
#sudo vim /etc/ovs-ifup
#!/bin/sh
switch='br-int'
/sbin/ifconfig $1 0.0.0.0 up
ovs-vsctl add-port ${switch} $1
3)
Script for delete the interface "tap0" and detach it from OpenvSwitch Bridge "br-int"
#vim /etc/ovs-ifdown
#!/bin/sh
switch='br-int'
/sbin/ifconfig $1 0.0.0.0 down
ovs-vsctl del-port ${switch} $1
4)
Create a KVM VM with cirros image and attach to OpenvSwitch Bridge "br-int"
#sudo kvm -m 2048 -net nic,macaddr=00:00:00:00:cc:10 -net tap,script=/etc/ovs-ifup,downscript=/etc/ovs-ifdown cirros-0.3.2-x86_64-disk.img
5)
Login to the cirros VM and set the IP. (Ip of the VM should be in the network of "br-int")
#sudo ifconfig eth0 192.168.0.135 netmask 255.255.255.0
6)
From cirros VM : Check routing table
#route -n
7)
From cirros VM : Ping to "br-int", Should work
#ping 192.168.0.131
8)
From cirros VM : Ping to google, Should not work
#ping ip-of-google
9)
List all POSTROUTING iptables rule
#sudo iptables -t nat -L POSTROUTING -nv
10)
Add MASQUERADE target rule for OpenvSwitch Bridge "br-int" to make ping to IP of google working
#sudo iptables -t nat -A POSTROUTING -o br-int -j MASQUERADE
10)
Ping to IP of Google
11)
Ping to www.google.com
Login to cirros VM and open /etc/resolve.conf and add
nameserver 8.8.8.8
12)
From Host System : SSH to cirros VM, Should work
#ssh cirros@192.168.0.135
13)
Ref
http://networkstatic.net/openflow-openvswitch-lab/