
C)
Network Time Protocol (NTP)
----------------------------------------
http://docs.openstack.org/icehouse/install-guide/install/apt/content/basics-ntp.html
* To synchronize services across multiple machines, you must install NTP.
The examples in this guide configure the "controller node" as the reference server and any additional nodes to set their time from the "controller node".
*
Install the ntp package on each system/node running OpenStack services:
c1)
* Goto Controller node and configure NTP
--------------------------------------------------------
#ssh opsuser@192.168.122.22
c1, a)
* Install ntp
#sudo apt-get install ntp
c1, b)
* Edit /etc/ntp.conf
*Comment following line (Since, I have Proxy or Firewall in my env, that blocks port 123) and setup local NTP server.
##server 0.ubuntu.pool.ntp.org
##server 1.ubuntu.pool.ntp.org
##server 2.ubuntu.pool.ntp.org
##server 3.ubuntu.pool.ntp.org
##server 3.ubuntu.pool.ntp.org
##server ntp.ubuntu.com
*Uncomment/Add following line
broadcast 192.168.122.0 192.168.123.0
c1, c)
* Restart
#sudo service ntp restart
c1, d)
* Verify that you are pulling time:
#ntpq -p


c2)
* Goto network node and configure NTP
----------------------------------------------------
#ssh opsuser@192.168.122.33
c2, a)
* Install ntp
#sudo apt-get install ntp
c2, b)
* Edit /etc/ntp.conf
*Comment following line
##server 0.ubuntu.pool.ntp.org
##server 1.ubuntu.pool.ntp.org
##server 2.ubuntu.pool.ntp.org
##server 3.ubuntu.pool.ntp.org
##server 3.ubuntu.pool.ntp.org
##server ntp.ubuntu.com
*Add following line
server controller
c2, c)
* Restart
#sudo service ntp restart
c2, d)
* Verify that you are pulling time:
#ntpq -p


c3)
* Goto compute node and configure NTP
------------------------------------------------------
#ssh opsuser@192.168.122.34
c3, a)
* Install ntp
#sudo apt-get install ntp
c3, b)
* Edit /etc/ntp.conf
*Comment following line
##server 0.ubuntu.pool.ntp.org
##server 1.ubuntu.pool.ntp.org
##server 2.ubuntu.pool.ntp.org
##server 3.ubuntu.pool.ntp.org
##server 3.ubuntu.pool.ntp.org
##server ntp.ubuntu.com
*Uncomment/Add following line
server controller
c3, c)
* Restart
#sudo service ntp restart
c3, d)
* Verify that you are pulling time:
#ntpq -p


c4)
Use NTP Behind Proxy or Firewall:
NTP uses UDP packets with port number 123. So if your host is behind a corporate proxy or firewall, and the proxy or firewall blocks that port number, the public NTP servers you specify in /etc/ntp.conf won't be reachable to your host. So make sure that your host can reach the NTP servers on port 123, using UDP. When a corporate proxy or firewall is in place, typically there exist internal NTP servers set up by the company. So you should use those internal NTP servers instead.
D)
Passwords
----------------
http://docs.openstack.org/icehouse/install-guide/install/apt/content/basics-passwords.html
* This guide uses the convention that SERVICE_PASS is the password to access the service SERVICE and SERVICE_DBPASS is the database password used by the service SERVICE to access the database.

E)
Database
-------------
Most OpenStack services require a database to store information. These examples use a "MySQL database" that runs on the "controller node". You must install the "MySQL database" on the "controller node". You must install the "MySQL Python library" on any "additional nodes" that access MySQL.
e1)
Controller node database setup
------------------------------------------
http://docs.openstack.org/icehouse/install-guide/install/apt/content/basics-database-controller.html
e1, a)
* On the controller node, install the "MySQL client" and "server" packages, and the "Python library".
#sudo apt-get install python-mysqldb mysql-server
password:opsuser
e1, b)
* Edit the /etc/mysql/my.cnf file
* Under the [mysqld] section, set the bind-address key to the "management IP address" of the "controller node" to enable access by other nodes via the management network.
[mysqld]
bind-address = 192.168.122.22
* Under the [mysqld] section, set the following keys to enable InnoDB, UTF-8 character set, and UTF-8 collation by default:
[mysqld]
default-storage-engine = innodb
innodb_file_per_table
collation-server = utf8_general_ci
init-connect = 'SET NAMES utf8'
character-set-server = utf8
e1, c)
#sudo service mysql restart
e1, d)
You must delete the anonymous users that are created when the database is first started. Otherwise, database connection problems occur when you follow the instructions in this guide. To do this, use the mysql_secure_installation command. Note that if mysql_secure_installation fails you might need to use mysql_install_db first:
# mysql_install_db
# mysql_secure_installation


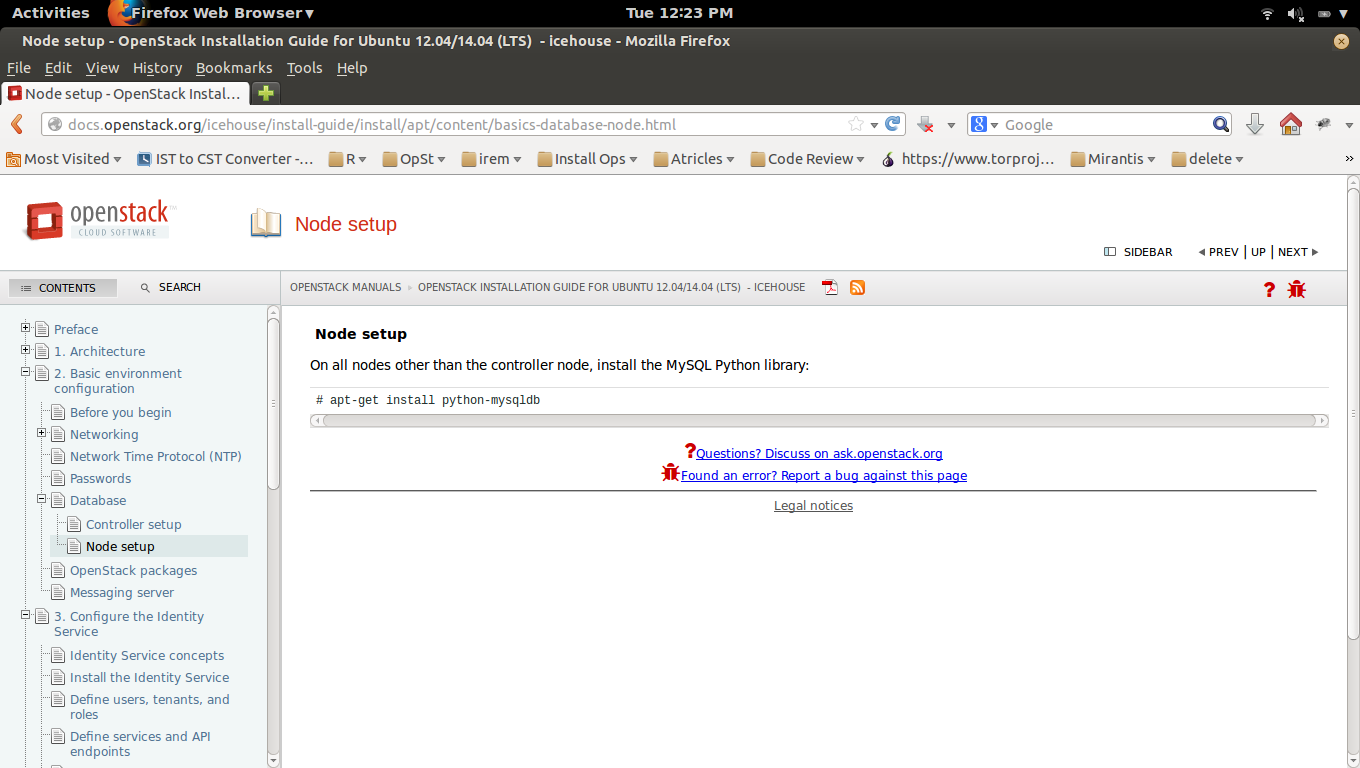
e2)
Network and Compute node database setup
---------------------------------------------------------
* On all nodes (network and compute nodes) other than the controller node, install the "MySQL Python library":
#sudo apt-get install python-mysqldb
Network Time Protocol (NTP)
----------------------------------------
http://docs.openstack.org/icehouse/install-guide/install/apt/content/basics-ntp.html
* To synchronize services across multiple machines, you must install NTP.
The examples in this guide configure the "controller node" as the reference server and any additional nodes to set their time from the "controller node".
*
Install the ntp package on each system/node running OpenStack services:
c1)
* Goto Controller node and configure NTP
--------------------------------------------------------
#ssh opsuser@192.168.122.22
c1, a)
* Install ntp
#sudo apt-get install ntp
c1, b)
* Edit /etc/ntp.conf
*Comment following line (Since, I have Proxy or Firewall in my env, that blocks port 123) and setup local NTP server.
##server 0.ubuntu.pool.ntp.org
##server 1.ubuntu.pool.ntp.org
##server 2.ubuntu.pool.ntp.org
##server 3.ubuntu.pool.ntp.org
##server 3.ubuntu.pool.ntp.org
##server ntp.ubuntu.com
*Uncomment/Add following line
broadcast 192.168.122.0 192.168.123.0
c1, c)
* Restart
#sudo service ntp restart
c1, d)
* Verify that you are pulling time:
#ntpq -p
c2)
* Goto network node and configure NTP
----------------------------------------------------
#ssh opsuser@192.168.122.33
c2, a)
* Install ntp
#sudo apt-get install ntp
c2, b)
* Edit /etc/ntp.conf
*Comment following line
##server 0.ubuntu.pool.ntp.org
##server 1.ubuntu.pool.ntp.org
##server 2.ubuntu.pool.ntp.org
##server 3.ubuntu.pool.ntp.org
##server 3.ubuntu.pool.ntp.org
##server ntp.ubuntu.com
*Add following line
server controller
c2, c)
* Restart
#sudo service ntp restart
c2, d)
* Verify that you are pulling time:
#ntpq -p
c3)
* Goto compute node and configure NTP
------------------------------------------------------
#ssh opsuser@192.168.122.34
c3, a)
* Install ntp
#sudo apt-get install ntp
c3, b)
* Edit /etc/ntp.conf
*Comment following line
##server 0.ubuntu.pool.ntp.org
##server 1.ubuntu.pool.ntp.org
##server 2.ubuntu.pool.ntp.org
##server 3.ubuntu.pool.ntp.org
##server 3.ubuntu.pool.ntp.org
##server ntp.ubuntu.com
*Uncomment/Add following line
server controller
c3, c)
* Restart
#sudo service ntp restart
c3, d)
* Verify that you are pulling time:
#ntpq -p
c4)
Use NTP Behind Proxy or Firewall:
NTP uses UDP packets with port number 123. So if your host is behind a corporate proxy or firewall, and the proxy or firewall blocks that port number, the public NTP servers you specify in /etc/ntp.conf won't be reachable to your host. So make sure that your host can reach the NTP servers on port 123, using UDP. When a corporate proxy or firewall is in place, typically there exist internal NTP servers set up by the company. So you should use those internal NTP servers instead.
D)
Passwords
----------------
http://docs.openstack.org/icehouse/install-guide/install/apt/content/basics-passwords.html
* This guide uses the convention that SERVICE_PASS is the password to access the service SERVICE and SERVICE_DBPASS is the database password used by the service SERVICE to access the database.
E)
Database
-------------
Most OpenStack services require a database to store information. These examples use a "MySQL database" that runs on the "controller node". You must install the "MySQL database" on the "controller node". You must install the "MySQL Python library" on any "additional nodes" that access MySQL.
e1)
Controller node database setup
------------------------------------------
http://docs.openstack.org/icehouse/install-guide/install/apt/content/basics-database-controller.html
e1, a)
* On the controller node, install the "MySQL client" and "server" packages, and the "Python library".
#sudo apt-get install python-mysqldb mysql-server
password:opsuser
e1, b)
* Edit the /etc/mysql/my.cnf file
* Under the [mysqld] section, set the bind-address key to the "management IP address" of the "controller node" to enable access by other nodes via the management network.
[mysqld]
bind-address = 192.168.122.22
* Under the [mysqld] section, set the following keys to enable InnoDB, UTF-8 character set, and UTF-8 collation by default:
[mysqld]
default-storage-engine = innodb
innodb_file_per_table
collation-server = utf8_general_ci
init-connect = 'SET NAMES utf8'
character-set-server = utf8
e1, c)
#sudo service mysql restart
e1, d)
You must delete the anonymous users that are created when the database is first started. Otherwise, database connection problems occur when you follow the instructions in this guide. To do this, use the mysql_secure_installation command. Note that if mysql_secure_installation fails you might need to use mysql_install_db first:
# mysql_install_db
# mysql_secure_installation
e2)
Network and Compute node database setup
---------------------------------------------------------
* On all nodes (network and compute nodes) other than the controller node, install the "MySQL Python library":
#sudo apt-get install python-mysqldb
No comments:
Post a Comment